Showing posts with label Christmas. Show all posts

Monday, October 21, 2013

Holiday Boutique


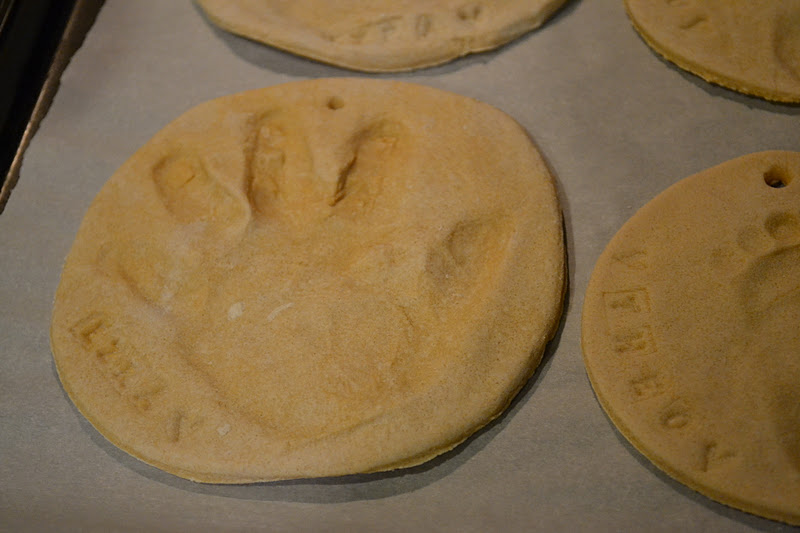
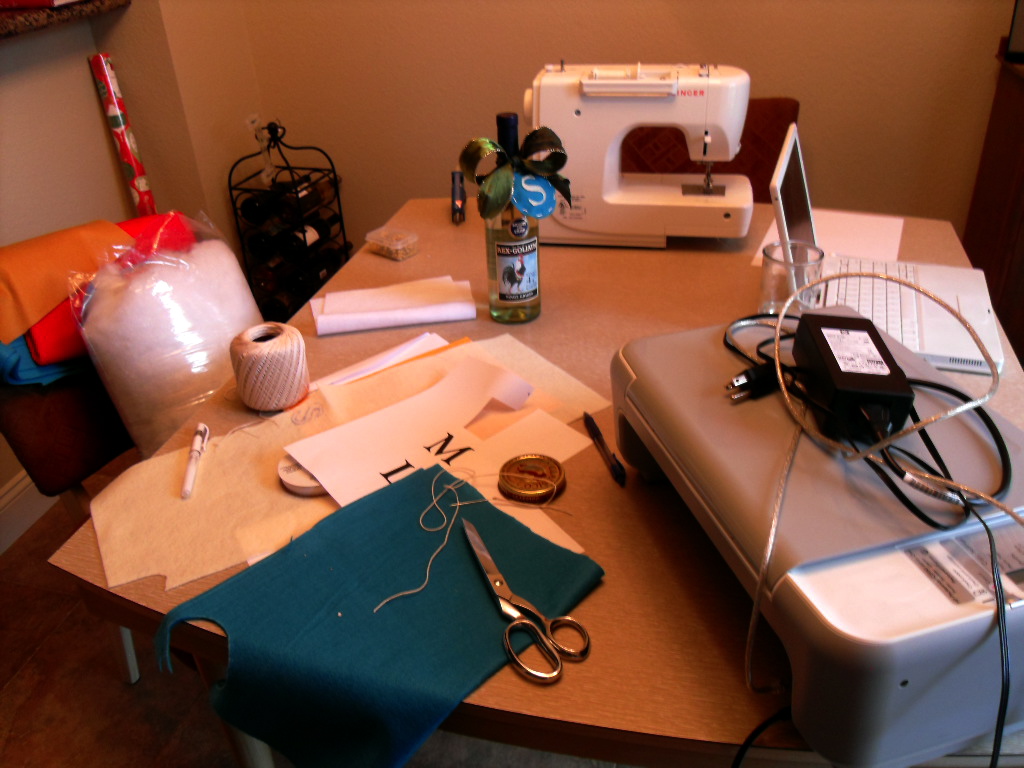
Over this past weekend, I participated in my very first craft selling boutique. It was also the weekend of an amazing block birthday party that included a whole roasted pig, jump house, and beer on tap. Annnnnd the stomach flu for the boys. Seriously, never a dull moment.
I had several reinforcements throughout the weekend to help: my mom, dad, and neighbor {who sold some cards too}. W stopped by throughout the weekend to bring me things I had forgotten at home, feed me, or take/bring back V. I'm so glad it happened so close to home.
My table neighbors were fabulous and sweet. Of course, Juju was the highlight for everyone. If I came without her, everyone would ask where she was. I was never short of arms to hold her while I ran to the bathroom, ate lunch, or needed to sit. It really was a blessing to have so many sweet and gracious women around. 

Another highlight was meeting and exceeding my costs for the experience. Meeting cost was the goal I set out for myself since I had no clue what to expect. I was so excited to get two custom orders while there too. One for a bridal shower that was happening Sunday afternoon. I made it over the night and she picked it up on Sunday morning. 
On the flip side, I seemed to have brought the majority of my traffic. Most of those that purchased from me, I already knew. So I'm not sure if I really needed the boutique other than to have a place to set up shop. I also had plenty of inquiries from strangers on whether I had an online shop. Still have my work cut out for me.  I had a blast, loved trying it out, but with a full weekend away from my family, I'm not sure if I'll do it again. Perhaps, I'll do a virtual store-front first?! 

A GIANT thank you for everyone who encouraged from both near and far. And to my family who supported me through time and energy! This was certainly NOT a one-woman show. ;)

Friday, December 14, 2012

More Advent

We did a few more activities this past week in Advent celebration style! More family traditions embraced. :)

We started with a family breakfast picnic "under" our tree last weekend. All {did you know you can buy adult sized?!} in footed pjs because it was cold!

Then we popped over to a local famous Christmas spot a different night to look at the lights on steriods!


Then we had our sweet {Swenson} family during the week as they were attending a wedding nearby. It feels like it's been forever since we've had guests so it was a delightful treat to host them. Especially so close after Thanksgiving so E clearly remembered them. We made sure to delay our cookie decorating a few days so we could do it with them. It was so fun having more kids to participate and E loved having his cousins: constant playmates. He went through seriously withdrawals after they left!

And to balance the high levels of sugar before 10:30 am, they all gathered round while Aly-berry read a Christmas story!

Looking forward to more Advent activities this week!!

Merry Christmas!

Thursday, December 13, 2012

Advent Activities {Christmas Traditions}

Sharing a bit about my love for Advent this year over at Newlywife this morning!!


Wednesday, December 5, 2012

{DIY} Advent Pocket Calendar

It sure was nice having a whole week between Thanksgiving and the start of December this year. I was actually able to prep a little for advent and be ready to go December 1st. One of the projects that I wanted to add to this year's list was an advent calendar. We had been using mine that I grew up with and loved, but I wanted something bigger that would eventually include all our kids and be more interactive.

I had pinned a ton of ideas over the year for advent calendars: ones shaped like Christmas trees, made from felt, paper envelopes or brown paper bags, etc. Then I stumbled upon this image a few weeks ago and knew this was the one.

Buuuuut it don't come with a tutorial. So I fished around and found a few more images with the same modge-podged, saggy-pocket, rustic look.


 I bought a ten dollar 6 by 9 drop cloth {canvas tarp that painters use} from Walmart and got to work. {This is waaaay bigger than you'll ever need, but I want to make a tree skirt out of the same material.} All the "extras" I already had in my craft stash: buttons, ribbon trims, pom-poms, doilies, embroidery floss, fabric, felt, sewing machine, sharpie, and paint.

I cut and hemmed a piece of the drop cloth to measure about 36 inches long by 31 inches wide.
We have a little wall between our kitchen and eating are where our thankful tree was so I figured I'd hang this there too. So, I worked off the wall's size. I had several burlap squares leftover from my bubble burlap wreath project that I used for placement and pocket size. Then I just started switching some of them out for fabric and felt squares. And that's where the laborious, time-consuming part came in: decorating each pocket. Oh, the hours spent! And the mess that my kitchen table withstood!
I didn't plan ahead nor really tried to spend too much thought on any one pocket. I wanted it to look slightly messy and non-uniformed.

Once the pockets were decorated, I sewed each one in place. With the burlap ones, I went over them twice just to make sure wee lil' hands wouldn't tear them. I added three tab on top and stuck a wooden dowel through them. The last thing I did was tie some ribbon to each dowel end and hung it up!
Filling them was fun! I've been wanting to purchase a nativity set that the boys could role-play with for awhile. After some hunting, I decided on the Little People's set which has a bazillion pieces {make sure to get the one that has the shepherd!!}! I picked that up at Wally World along with the drop cloth.

I wrapped each nativity piece in some brown kraft paper and washi tape. I mingled the pieces with some chocolate and "activities tags". The tags are basically index cards that I added ribbon and tape to. I looked over this list and picked several that fit our family and the traditions we like to do during this time of year: Christmas lights drive, bake cookies, watch a Christmas movie, do a Christmas/winter related craft, have a picnic next to the Christmas tree, and make this year's ornament. I also tried to include a few "service"/acts of kindness type activities too. I was really inspired by this blogger's kindness project from a few years back. Hoping we can add more of these as the years go on and the kids are more capable!
I half-jokingly told W that this advent better end up as a heirloom after all the time I spent on it. It seriously took 3+ days to complete. Labor of love. But I love how it turned out and know it'll get many more years use out of it in the meantime. Our Christmas count-down has begun!

Thursday, November 8, 2012

Handmade Holidays

Don't have the time or the energy to make something and add some newness to your holiday decorations this year?! Pop over to Newlywife to see my latest post on a few of my favorite holiday homemade items to make your place more merry + bright!

Friday, December 23, 2011

From Ours to Yours

Wishing you a very Merry Christmas and a wonderful New Year!

xoxo,
The Swensons

Thursday, December 15, 2011

Hand {& Foot} Print Ornaments

I've been lamenting lately about how Theo has zero ornaments this year. And I was still wanting to add another homemade ornament to our tree this year.Why not come up with an ornament that does both?

So my hunt began and my criteria was simple: homemade, easy for Mama to prep, personalized, and kid-friendly. And I found this:
Salt Dough Ornaments

I made my salt dough during the boys' naps. Since we don't have any cookie cutters yet {tragedy, I know!}, I had to great creative. Then the idea hit me: PRINTS!

I'd also been lamenting this whole year that I don't have any of E's {and subsequently of T either}. In fact, it became one of my New Year's Resolutions at the beginning of this year. And I finally and actually fulfilled my goal. What?! I'm still in shock since I still can barely meet the daily goals of brushing my teeth, getting deodorant on and oh, forget make-up.... So sorry, I digress...

I followed the recipe. Worked my dough out.

Found my forms:
Put the dough ornaments on parchment paper and used a skewer to get a hole through the tops of them. I made sure that the hole went through  all the way.

Once the boys were up, I helped them pressed their respected appendage into the dough. I then used some small letter stamps that my mom had to get their names on too {got that idea here}. Then into the oven they went at 250 degrees for about 3 hours.

Cost: Free {if you already have the flour and salt}

After they harden, I strung some jute string through the holes and hung those adorable babies up.
 You could also try painting them as see here.


Additional Tips: 
**don't make your ornaments too far in advance. By the time Theo woke up, his were already starting to harden so I had to re-roll his out again
**I wrote 2011 on the back with pen once they were dry, but using the skewer would have worked too
**water was my best friend to get that dough-y texture in order to get decent prints. Whenever the dough got too cracked and hard, I just added some more warm water to my hands and re-worked the dough.
**I tried doing a hand print of T's but I just couldn't keep it open long enough to press it while holding him upright. Should've seen how silly that looked. So I opted for a foot print and it came out so much better.
**I plan on sealing the ornaments with a clear spray to keep for years to come.

Tuesday, December 13, 2011

All The Stockings Are Hung


{I used this pattern again to add Theo's stocking to our bunch this year. And until further notice, he's the prep-ster of the family...}

Monday, December 12, 2011

Felt Monogram Ornaments

{archived 12.13.10}
Never go to a Christmas party empty-handed!
{the 'S' is for our hostess' last name...not ours..just to clear the air on that one...}
These ornaments turned out to be much easier than I expected..like 20 minutes easy! So excited!! I used this tutorial that Dana from Made created. Already planning more for friends and family and for us, of course. I also embroidered '2010' on the back.
And here's the behind the scenes view:
The hubby was so happy to hear that there are more in the works. Needless to say, we'd love a project desk right about now....

Saturday, December 10, 2011

{Martha Stewart} Christmas Card Wreath

Another great find on pinerest...


What you need:
glue gun 
glue sticks
wide wired ribbon
clothes pins
quilter's or embroidery hoop {I used an 18 inch quilter's}

I had all but the hoop and then found some fun plaid ribbon I just couldn't pass up {of course} which brought this craft's cost to about $8.

My take:

All I did was place the pins first to get my desired spacing, made sure to alternate which way the pin's opening went, and then glued those puppies in place.
Put a big bow on top with enough slack to hang, and there you have it: a really quick and easy way to display those beautiful Christmas cards you'll be receiving all this month. Which reminds me that we STILL haven't taken our pictures for. Argh. 

Thanks pinterest & Martha! You guys are the best!


Friday, December 9, 2011

Merry & Bright {Our Home Decorations}

 Over the last two weeks, we slowly got out our decorations, got our tree {thank you again, Home Depot}, and transformed our home into merry & bright.
I ordered this pinerest print and W put my ornament wreath from last year outside on the door.
This was probably the first year that I felt like we were pulling out 'our' decorations. My mom gave me most of her things after we got married, like the pillow below. This has been so great because our home is still merry while we slowly add/modify our decorations. Now I'm finally making and collecting items myself. Definitely a fun adventure.
Our sweet chalkboard finally looks complete...

W set up the advent wreath he made last year. Last Sunday night during dinner, we lit the candle, explained the significance of advent, read some verses and sang a song that focused on the anticipation of His arrival. I picked one of the verses to put on the chalkboard to memorize this week. Can I just tell you how successful its been already?! I'm really enjoying have His word in my line of sight throughout the day!

The peppermint wreath is a craft courtesy of pinterest. I used this tutorial. Four bags of candy and two trips to Target later, I got this beauty. And its four pounds of heavy! The jars are filled with candy canes and peppermint bark.

Until I get around to making one, we've been using the advent calendar. It's the one I grew up with; moving the little mouse. Does that make it vintage if its over 20 years old? ;) Either way, E loves that little mouse.